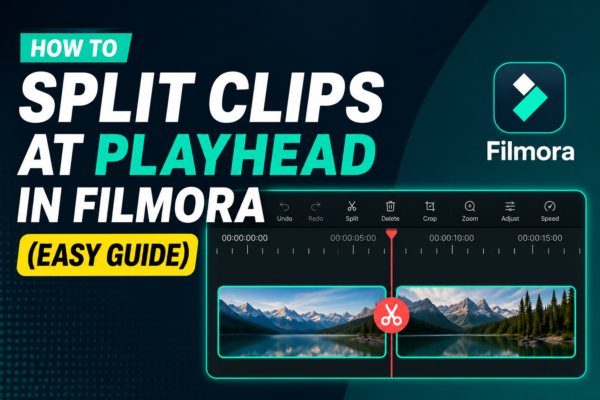
Splitting clips at the playhead in Filmora is a basic video editing technique that allows you to cut a video precisely where the timeline cursor (playhead) is placed. Simply position the playhead on the desired frame, select the clip, and click the Split Tool (scissors icon) or press Ctrl + B. This creates two separate clips for precise editing, trimming, or rearranging.
Why This Simple Tool Changes Everything
If you’ve ever edited a video in Filmora, you already know how important timing is. One small cut can completely change the flow of your story. Whether you’re creating YouTube content, TikTok edits, tutorials, or business videos, knowing how to split clips at the playhead in Filmora is a foundational skill.
Many beginners struggle with messy timelines or inaccurate cuts. The truth is—once you master splitting clips at the playhead in Filmora, your editing speed and precision improve dramatically.
In this guide, you’ll learn not just how to do it, but when and why to use it like a professional editor.
What Does Splitting Clips at the Playhead Mean in Filmora?
Splitting clips at the playhead in Filmora means cutting a video clip exactly at the position of the timeline cursor (called the playhead). This divides one clip into two independent segments.
Simple Definition:
- Playhead: The vertical line that shows your current position on the timeline
- Split Clip: Cutting a video into two parts at that position
This feature is essential for:
- Removing unwanted parts
- Adding transitions
- Syncing audio and video
- Creating jump cuts or highlight edits
How to Split Clips at the Playhead in Filmora (Step-by-Step)
Here is the exact workflow used by professional editors:
1: Import Your Media
- Open Filmora
- Import your video, audio, or image files
- Drag the clip to the timeline
2: Position the Playhead
- Move the playhead to the exact frame where you want the cut
- Zoom in on the timeline for better accuracy
3: Select the Clip
- Click on the clip you want to split
- Ensure it is highlighted
4: Use the Split Tool
You have two options:
- Click the scissors icon (Split Tool) above the timeline
- OR press Ctrl + B (Windows) / Cmd + B (Mac)
Now your clip is split into two parts.
5: Edit Your New Clips
- Delete unwanted sections
- Move clips around
- Add transitions or effects
Why Splitting Clips at the Playhead in Filmora Matters
Mastering splitting clips at the playhead in Filmora is not just a technical skill—it’s a creative advantage.
Key Benefits:
- 🎯 Precision editing without guesswork
- ⚡ Faster workflow with keyboard shortcuts
- 🎬 Better storytelling control
- ✂️ Easy removal of mistakes or pauses
- 🎵 Perfect syncing with music or voiceovers
For example, if you’re editing a YouTube vlog, you can quickly remove awkward pauses and tighten your storytelling flow using this method.
Real-World Use Cases of Splitting Clips in Filmora
1. YouTube Video Editing
Creators use splitting to remove mistakes, pauses, or retakes.
2. Social Media Content
Short-form videos require tight cuts and fast pacing.
3. Tutorial Videos
Split clips to highlight key steps clearly.
4. Marketing Videos
Remove unnecessary content to keep attention high.
5. Music & Audio Syncing
Align visuals with beats or voice narration.
Pro Tips for Better Editing Workflow
1. Use Keyboard Shortcuts
Instead of clicking icons repeatedly:
- Ctrl + B = Split instantly
This alone can double your editing speed.
2. Zoom Into Timeline
Better zoom = more accurate cuts.
3. Use Markers Before Splitting
Mark important points before cutting for better organization.
4. Combine With Ripple Delete
After splitting, remove unwanted sections without leaving gaps.
5. Plan Your Cuts Before Editing
A rough storyboard saves hours of editing time.
Common Mistakes to Avoid
Even though splitting clips at the playhead in Filmora is simple, beginners often make these mistakes:
- ❌ Cutting at random positions without zooming in
- ❌ Forgetting to select the clip before splitting
- ❌ Leaving unnecessary gaps in the timeline
- ❌ Overusing cuts and making videos feel choppy
Avoiding these mistakes improves your editing quality instantly.
Splitting Clips vs Trimming: What’s the Difference?
| Feature | Splitting Clips | Trimming |
|---|---|---|
| Action | Cuts clip into two parts | Shortens edges of clip |
| Flexibility | High (multiple edits possible) | Limited |
| Use Case | Removing middle sections | Adjusting start/end |
Both are important, but splitting clips at the playhead in Filmora gives more control for complex edits.
Expert Insight
Professional editors rely heavily on splitting tools because they allow non-destructive editing. This means you can always rearrange or restore clips without losing original footage.
According to video editing best practices used in tools like Filmora (developed by Wondershare), timeline-based editing with precise cuts is the foundation of modern content creation.
For deeper learning:
- Wondershare Filmora Official Guide: https://filmora.wondershare.com
- Adobe Video Editing Basics (for comparison concepts): https://www.adobe.com
Pros and Cons of Splitting Clips in Filmora
Pros:
- Fast and efficient editing
- High precision control
- Beginner-friendly
- Works with all media types
Cons:
- Can become messy if overused
- Requires timeline organization skills
- Needs practice for accuracy
FAQ
1. How do I split clips at the playhead in Filmora?
Move the playhead to the desired point, select the clip, and press Ctrl + B or click the scissors tool to split it.
2. What is the shortcut for splitting clips in Filmora?
The default shortcut is Ctrl + B (Windows) or Cmd + B (Mac).
3. Can I undo a split in Filmora?
Yes, you can press Ctrl + Z to undo or manually join clips by deleting the cut section.
4. Why is splitting clips useful in video editing?
It helps remove unwanted sections, improve pacing, and organize footage efficiently.
5. Is splitting the same as trimming in Filmora?
No. Splitting divides a clip into parts, while trimming shortens the edges of a clip.
Conclusion: Master This Skill for Faster Editing
Learning splitting clips at the playhead in Filmora is one of the most powerful foundational skills in video editing. It may seem simple, but it directly impacts your speed, accuracy, and storytelling quality.
Once you master this technique, your editing workflow becomes smoother, your videos look more professional, and your creative control increases significantly.
If you’re serious about video editing, practice this daily—it will become second nature.











