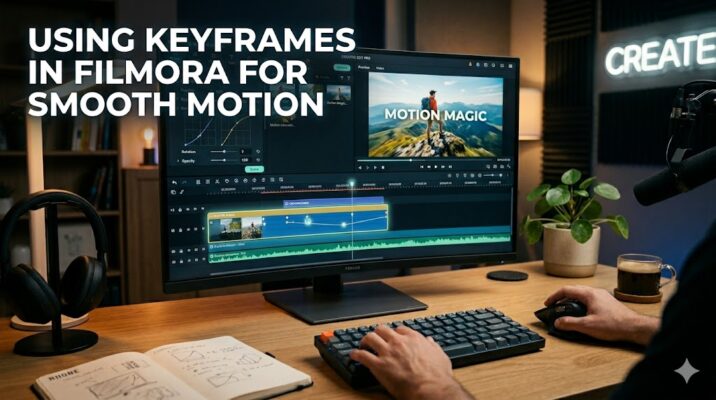
If your videos feel static or “flat,” keyframes are the missing ingredient. They turn simple clips into dynamic, engaging visuals—without needing advanced animation skills. Whether you’re editing YouTube videos, reels, or tutorials, mastering keyframes in Filmora can instantly level up your content.
Quick Answer
Keyframes in Filmora allow you to create motion by setting specific points where properties like position, scale, rotation, or opacity change over time. By adding multiple keyframes, Filmora automatically animates the transition between them, helping you create smooth movement, zoom effects, and professional animations.
What Are Keyframes in Filmora?
Keyframes are markers placed on a timeline that define how a visual property behaves at a specific moment.
Think of them like instructions:
- Start here (Position A)
- End here (Position B)
Filmora fills in the motion between those points automatically.
Example:
Imagine you want a logo to slide across the screen:
- First keyframe → Logo on the left
- Second keyframe → Logo on the right
Filmora animates the movement between them—no manual frame-by-frame editing needed.
Why Use Keyframes in Video Editing?
Keyframes are essential for adding life to your videos. Here’s what they help you achieve:
🎬 Benefits:
- Create smooth motion and transitions
- Add cinematic zoom effects
- Animate text and graphics
- Control speed and timing precisely
- Enhance storytelling visually
Without keyframes, your edits remain static. With them, your content becomes engaging and professional.
How to Use Keyframes in Filmora (Step-by-Step)
1: Import Your Media
- Open Filmora
- Import your video, image, or text
- Drag it to the timeline
2: Select the Clip
Click on the clip you want to animate.
3: Open Animation Controls
- Go to the Video panel
- Find Transform (Position, Scale, Rotation)
4: Add Your First Keyframe
- Move the playhead to the starting point
- Click the keyframe icon (diamond shape)
5: Change Properties
- Adjust position, zoom, or rotation
6: Add Another Keyframe
- Move the playhead forward
- Change the property again
🎥 Filmora automatically creates smooth motion between the two points.
Types of Motion You Can Create with Keyframes
1. Zoom In / Zoom Out
- Increase scale for zoom in
- Decrease for zoom out
👉 Perfect for tutorials and storytelling emphasis.
2. Pan Movement (Left to Right)
- Adjust position (X-axis)
- Create cinematic movement across frames
3. Fade In / Fade Out
- Use opacity keyframes
- Smoothly transition visibility
4. Rotation Effects
- Rotate objects gradually
- Add dynamic transitions
5. Custom Animations
Combine:
- Position + Scale + Opacity
For complex animations like: - Floating text
- Animated intros
- Social media effects
Real-World Use Cases
🎥 YouTube Content Creators
- Highlight important points with zoom-ins
- Animate subscribe buttons
📱 Social Media Videos
- Add movement to static images
- Create eye-catching reels
🎓 Educational Videos
- Focus attention on key areas
- Guide viewers visually
🛍️ Product Videos
- Showcase products with smooth motion
- Add professional polish
Keyframes vs Preset Animations
| Feature | Keyframes | Preset Animations |
|---|---|---|
| Control | Full control | Limited |
| Flexibility | High | Low |
| Ease of Use | Moderate | Easy |
| Customization | Advanced | Basic |
👉 Best Practice:
Use presets for speed, keyframes for creativity.
Pro Tips for Better Keyframe Animation
🔹 Keep Movements Smooth
Avoid sudden jumps between keyframes.
🔹 Use Ease In & Ease Out
Make animations feel natural, not robotic.
🔹 Don’t Overuse Effects
Too many animations can distract viewers.
🔹 Maintain Consistency
Use similar motion styles across your video.
🔹 Preview Frequently
Always check how your animation looks in real-time.
Common Mistakes to Avoid
- ❌ Adding too many keyframes unnecessarily
- ❌ Making motion too fast or too slow
- ❌ Ignoring timing and pacing
- ❌ Overloading videos with effects
FAQs
1. What is a keyframe in Filmora?
A keyframe is a point on the timeline where you define a specific value (like position or scale). Filmora animates the change between keyframes automatically.
2. How many keyframes do I need for animation?
At least two:
- One for the start
- One for the end
More keyframes allow more complex animations.
3. Can beginners use keyframes easily?
Yes. Filmora simplifies keyframe usage with a visual interface, making it beginner-friendly compared to advanced tools.
4. What properties can be animated with keyframes?
You can animate:
- Position
- Scale
- Rotation
- Opacity
5. Why are my keyframe animations not smooth?
Common reasons:
- Keyframes placed too close
- Sudden large changes
- Lack of easing
Final Thoughts
Keyframes are one of the most powerful tools in Wondershare Filmora—yet many beginners overlook them. Once you start using them, your videos will instantly feel more dynamic and professional.
The best part? You don’t need advanced skills. Just practice simple movements like zoom and pan, then gradually experiment with more complex animations.
👉 Call to Action:
Open Filmora right now and try creating your first keyframe animation. Start simple, stay consistent, and watch your video quality transform.











