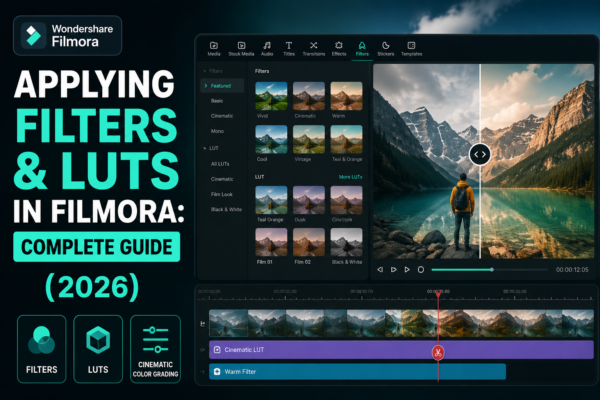
Applying filters and LUTs in Filmora helps you instantly enhance video colors, mood, and cinematic style. Filters are preset visual effects, while LUTs (Look-Up Tables) adjust color grading professionally. In Wondershare Filmora, you can apply them via the Effects or Color tab, then customize intensity for a polished, professional look in just a few clicks.
Introduction: Why Filters and LUTs Matter in Video Editing
In modern video editing, visuals are everything. Whether you’re creating YouTube content, social media reels, or cinematic storytelling, color defines emotion.
That’s where applying filters and LUTs in Filmora becomes a game-changer.
Many beginners rely on basic cuts and transitions, but professionals understand that color grading is what transforms “normal footage” into something visually compelling.
With Filmora, even beginners can achieve advanced cinematic styles without mastering complex software like DaVinci Resolve or Adobe Premiere Pro.
In this guide, you’ll learn:
- What filters and LUTs actually do
- How to apply them step-by-step
- Real editing use cases
- Pro tips for cinematic results
- Common mistakes to avoid
Let’s dive in.
What Are Filters and LUTs in Filmora?
1. Filters (Simple Visual Enhancers)
Filters are pre-designed effects that instantly change:
- Brightness
- Contrast
- Color tone
- Mood (warm, vintage, cinematic, etc.)
They are beginner-friendly and require no technical knowledge.
2. LUTs (Look-Up Tables)
LUTs are advanced color grading presets used by professionals to:
- Match cinematic color styles
- Create consistent branding
- Replicate film-like tones
For example:
- Teal & Orange cinematic look
- Moody dark tones
- Vibrant travel vlog style
Key Difference
- Filters = One-click visual effects
- LUTs = Professional-grade color transformation
Both are essential in applying filters and LUTs in Filmora for creative storytelling.
Step-by-Step: Applying Filters in Filmora
Using filters in Wondershare Filmora is simple and fast.
1: Import Your Video
- Open Filmora
- Click “Import Media”
- Drag your clip into the timeline
2: Open Effects Panel
- Go to the “Filters” tab
- Browse categories like:
- Cinematic
- Vintage
- Beauty
- Vlog
3: Apply Filter
- Drag and drop your selected filter onto the clip
- Preview instantly in the viewer
4: Adjust Intensity
- Click the filter
- Use the slider to control strength
- Balance is key—avoid over-saturation
Step-by-Step: Applying LUTs in Filmora
Now let’s move to professional-level editing using LUTs.
1: Access Color Panel
- Select your video clip
- Go to “Color” settings
2: Enable LUT Section
- Turn on LUT options
- Choose built-in LUT presets or import custom LUT files
3: Apply LUT
- Select a LUT style such as:
- Cinematic Warm
- Film Stock
- Travel Vlog
- Moody Blue Tone
4: Fine-Tune Settings
Adjust:
- Exposure
- Contrast
- Saturation
- White balance
This step ensures your applying filters and LUTs in Filmora workflow looks natural and not overprocessed.
Best Use Cases of Filters and LUTs
1. YouTube Content Creation
- Enhance storytelling visuals
- Maintain consistent branding style
2. Travel Videos
- Use vibrant LUTs for landscapes
- Add warmth for sunset shots
3. Cinematic Storytelling
- Use teal-orange LUTs
- Reduce saturation for dramatic tone
4. Social Media Reels
- Quick filters for engagement
- High contrast for attention-grabbing visuals
Filters vs LUTs: Which Should You Use?
| Feature | Filters | LUTs |
|---|---|---|
| Skill Level | Beginner | Intermediate |
| Customization | Low | High |
| Purpose | Quick edits | Professional grading |
| Flexibility | Limited | Advanced control |
Expert Insight
If you’re just starting, use filters.
If you’re aiming for professional video production, LUTs are essential.
Pro Tips for Better Results
Here are expert-level strategies for applying filters and LUTs in Filmora effectively:
1. Don’t Overuse Effects
Too many filters can make footage look unnatural.
2. Match LUTs with Lighting
A LUT works best when:
- Lighting is balanced
- Exposure is properly set
3. Use Keyframes for Dynamic Color
Apply gradual filter changes for storytelling impact.
4. Combine Filters + LUTs Carefully
- Use subtle filters
- Apply LUT as primary color base
5. Maintain Brand Consistency
If you’re a content creator, stick to:
- One LUT style
- One color theme
Common Mistakes to Avoid
Many beginners misuse filters and LUTs:
- ❌ Over-saturating colors
- ❌ Applying multiple LUTs together
- ❌ Ignoring lighting conditions
- ❌ Using filters without previewing results
Avoiding these mistakes ensures professional-quality output.
To deepen your understanding:
- Filmora Official Tutorials: https://filmora.wondershare.com
- Color Grading Basics (Adobe Guide): https://www.adobe.com/creativecloud/video/discover/color-grading.html
FAQ: Applying Filters and LUTs in Filmora
1. What is the difference between filters and LUTs in Filmora?
Filters are simple preset effects, while LUTs are advanced color grading tools used for cinematic video styling.
2. How do I apply LUTs in Filmora?
Go to the Color panel, enable LUT settings, and select a preset or import a custom LUT file.
3. Can I combine filters and LUTs in Filmora?
Yes, but use them carefully. Apply LUTs first, then subtle filters for enhancement.
4. Are LUTs better than filters?
LUTs are more professional and customizable, while filters are faster and easier for beginners.
5. Do filters affect video quality?
No, but excessive use can distort natural colors and reduce visual clarity.
Conclusion: Mastering Visual Storytelling in Filmora
Learning applying filters and LUTs in Filmora is one of the fastest ways to elevate your video editing skills.
With simple filters, you can enhance mood instantly. With LUTs, you can achieve cinematic storytelling that looks professional and polished.
Whether you’re a beginner or an aspiring video editor, mastering these tools inside Wondershare Filmora gives you a powerful creative edge.
Final Tip:
Start simple, experiment often, and develop your own visual style over time.