Adding the right audio can transform an ordinary video into something memorable. Whether it’s background music, voiceovers, or sound effects, knowing how to properly import custom audio files in Filmora is a skill every video creator needs.
If you’ve ever struggled with unsupported formats, missing files, or syncing issues, you’re not alone. This guide will walk you through everything—step by step—so you can import audio smoothly and focus on creating amazing content.
✅ Quick Answer
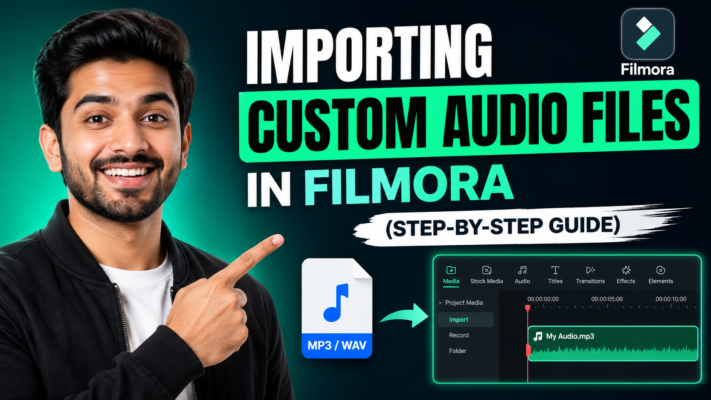
To import custom audio files in Filmora, open your project, go to the Media panel, click Import, and select your audio file (MP3, WAV, etc.). Once imported, drag the file to the timeline. Ensure the format is supported and the file is accessible on your device.
What is Importing Custom Audio Files in Filmora?
Importing custom audio files in Filmora means adding external sound files—like music, voice recordings, or sound effects—into your video editing project. These files can come from:
- Your phone recordings
- Online downloads
- Professional sound libraries
- Voiceover tools
Filmora supports various audio formats, making it flexible for both beginners and advanced editors.
Why Custom Audio Matters in Video Editing
Let’s be honest—bad audio can ruin even the best visuals.
Imagine watching a travel vlog with no background music or a tutorial with unclear voiceover. It feels incomplete, right?
Here’s why custom audio is essential:
- 🎧 Enhances emotional impact
- 🎙️ Improves storytelling clarity
- 🔊 Adds professionalism to your videos
- 🎵 Keeps viewers engaged longer
Supported Audio Formats in Filmora
Before importing, make sure your file format is supported. Filmora works well with:
- MP3 (most common)
- WAV (high quality)
- AAC
- M4A
- OGG
Pro Tip: If your file isn’t supported, convert it using tools like Audacity or online converters.
How to Import Custom Audio Files in Filmora (Step-by-Step)
1. Open Filmora and Create a Project
Launch Filmora and start a new project or open an existing one.
2. Go to the Media Panel
At the top-left corner, locate the Media tab.
3. Click “Import”
You’ll see options like:
- Import Media Files
- Import Media Folder
Choose the one that suits your needs.
4. Select Your Audio File
Browse your computer and choose the audio file you want to import.
5. Add to Timeline
Drag and drop the audio file into the timeline below your video track.
6. Adjust and Sync
Trim, split, or align the audio to match your video.
Alternative Ways to Import Audio
Sometimes, the standard method isn’t the fastest. Here are a few shortcuts:
Drag & Drop Method
Simply drag your audio file directly into Filmora’s media library.
Record Voiceover Directly
Filmora also allows you to record audio inside the software.
Import from Devices
You can import audio from:
- Smartphones
- Cameras
- External drives
Real-World Example
Let’s say you’re editing a YouTube vlog.
You recorded video clips on your phone, but the built-in mic didn’t capture clear audio. So you:
- Record a voiceover separately
- Import it into Filmora
- Sync it with your footage
- Add background music for mood
The result? A polished, professional-looking video.
Common Issues & Fixes
Audio Not Importing
- Check file format
- Rename file (avoid special characters)
- Restart Filmora
No Sound After Import
- Ensure audio track is not muted
- Check system sound settings
Audio Out of Sync
- Use waveform matching
- Adjust timing manually
Best Practices for Importing Audio
Keep Files Organized
Create folders for:
- Music
- Voiceovers
- Sound effects
Use High-Quality Audio
Low-quality sound can reduce viewer retention.
Match Audio Levels
Ensure consistent volume across clips.
Trim Unnecessary Noise
Use Filmora’s noise reduction tools.
Importing Audio vs Built-in Filmora Audio
| Feature | Custom Audio | Filmora Library |
|---|---|---|
| Flexibility | High | Limited |
| Originality | Unique | Common |
| Licensing | Depends | Pre-cleared |
| Quality Control | Full | Limited |
Verdict: Use custom audio for originality and branding.
Use Cases for Custom Audio in Filmora
- 🎬 YouTube videos
- 🎓 Online courses
- 📱 Social media content
- 🎥 Short films
- 🎤 Podcasts
Pro Tips from Experts
- Always preview audio before importing
- Use fade-in and fade-out effects for smoother transitions
- Layer multiple audio tracks for richer sound
- Normalize audio levels for consistency
Frequently Asked Questions (FAQs)
1. What audio formats does Filmora support?
Filmora supports MP3, WAV, AAC, M4A, and OGG formats.
2. How do I fix unsupported audio files in Filmora?
Convert the file into MP3 or WAV using tools like Audacity or online converters.
3. Can I import audio from my phone?
Yes, transfer the file to your computer and import it into Filmora.
4. Why is my audio not syncing with video?
This usually happens due to frame rate mismatch or timing issues—adjust manually in the timeline.
5. Can I edit audio after importing?
Absolutely. You can trim, split, adjust volume, and apply effects directly in Filmora.
Conclusion: Start Creating Better Videos Today
Importing custom audio files in Filmora is more than just a technical step—it’s a creative advantage. Once you master it, your videos instantly feel more polished, engaging, and professional.
Don’t settle for average sound. Experiment with music, voiceovers, and effects to build your unique style.
Ready to level up your editing game? Open Filmora and start importing your first custom audio file today.











