Introduction
Student testimonials can increase conversions by 34% when they are integrated thoughtfully into course content. Rather than placing a reel at the end, you get much better results by weaving short testimonial clips throughout lessons. When testimonials appear at key moments they reduce skepticism, illustrate outcomes, and reinforce learner confidence.
This guide shows where to place testimonials, how to edit them professionally, and which technical standards to follow so social proof feels natural and persuasive. https://www.fiverr.com/s/dD1D7Az
Why Testimonials Belong in Your Course Videos
Social proof works because learners trust peers. In particular, well-placed testimonials:
- Calm doubts with authentic social proof.
- Reinforce value right after an important lesson.
- Increase perceived ROI at decision points.
- Foster community by highlighting peer journeys.
Consequently, testimonials that are integrated rather than appended become part of the learning design.
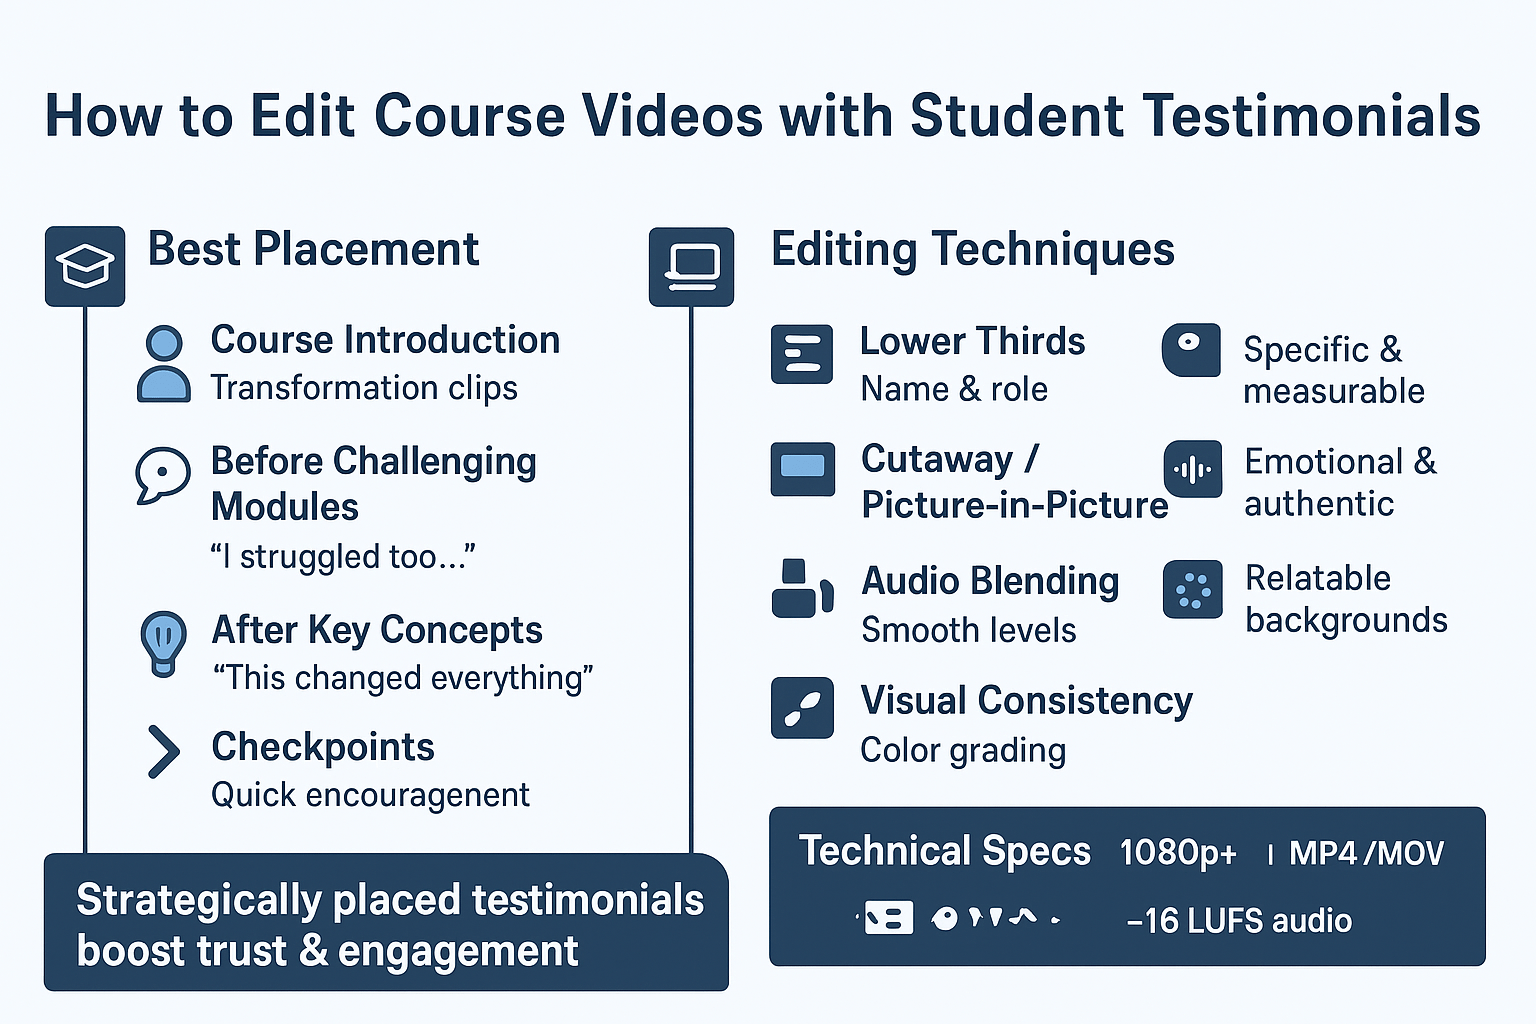
1) Best Placement for Testimonials
Placement determines impact, so think strategically about timing and intent.
Course Introduction
Place two or three short transformation stories shortly after your opener. In most cases, these clips should highlight before → after outcomes and set expectations.
Before Challenging Modules
Insert a “I struggled with this too, but…” clip prior to difficult lessons. That way, learners feel reassured and ready to persist.
After Key Concepts
Immediately following a major point, include brief “This changed everything for me…” moments. These reinforce understanding and perceived value.
Checkpoint Moments
Between modules, place quick encouragement clips to sustain momentum. They work particularly well right before advanced sections.
By staggering testimonials at these moments you increase their relevance and persuasive power.
2) Professional Editing Techniques
Good edits make testimonials feel like part of the course rather than an advertisement.
Lower Thirds & ID Graphics
Show animated name tags with role and outcome. Make sure typography and color match your course branding so the clip reads as credible.
Cutaway & Picture-in-Picture
During narration, overlay a small testimonial window so learners see both the instructor and the student. Alternatively, switch to full-screen testimonials with a smooth crossfade when the story needs focus.
Audio Blending
Lower narration volume when the testimonial plays and keep background music consistent for continuity. Normalizing levels to a target LUFS value prevents jarring volume jumps.
Visual Consistency
Color-grade clips to match your course aesthetic and add subtle zooms or stabilizing to emotional moments. Avoid heavy filters that undermine authenticity.
Together, these techniques ensure testimonials support the lesson rather than interrupt it.
3) Sourcing Powerful Testimonials
Not every positive quote converts. The most effective testimonials include the following qualities:
- Specific results and measurable outcomes.
- Genuine emotion and natural speech patterns.
- Relatable backgrounds that reflect your target audience.
- Short length—aim for 15–30 seconds. https://www.fiverr.com/s/akGkdXG
To capture useful clips, prompt students with targeted questions such as: “What was your biggest challenge before this course?” or “Which specific result surprised you most?” These prompts tend to produce concise, story-driven responses.
4) Technical Specifications & Best Practices
Technical consistency preserves credibility. Follow these practical standards:
| Element | Recommendation |
|---|---|
| Resolution | Match your course footage (1080p or higher) |
| Aspect Ratio | Keep consistent with main content |
| File Format | MP4 or MOV (alpha if overlays needed) |
| Audio Level | Normalize around –16 LUFS |
In addition, always check that codecs and frame rates align with your LMS or hosting platform to avoid playback issues.
5) DIY vs. Professional Testimonial Editing
Each approach has trade-offs, so choose based on scale and desired impact.
DIY (in-house):
- Lower cost and quicker turnaround.
- Good for small courses or early-stage pilots.
- May lack advanced motion or emotional pacing.
Professional service:
- Broadcast-quality polish and storytelling.
- Strategic sequencing for maximum persuasion.
- Better integration across large course libraries and platforms.
If conversions and branding matter, professional editing usually pays for itself.
Testimonial Integration Checklist
Before publishing, confirm the following items:
✅ Testimonials feel like part of the lesson flow.
✅ Audio levels are balanced between narration and clips.
✅ Lower thirds are readable and branded.
✅ Clips are placed at moments of high decision or doubt.
✅ Metadata and filenames match your course asset system.
Completing this checklist reduces rework and improves learner experience. Our services
Tools for Testimonial Editing
Choose tools that fit both skill level and goals:
- Premiere Pro — For advanced compositing and color grading.
- Descript — Fast transcript-driven editing and clean audio.
- Canva — Quick branded lower thirds and overlays.
- Audition / Audiate — Clean up voice audio efficiently.
Combine rapid tools with one quality-control pass to keep testimonials authentic and polished. About us
Conclusion
When edited with intention, student testimonials become learning amplifiers rather than interruptions. By placing clips at introductions, before hard modules, after key lessons, and at checkpoints, you turn social proof into reinforcement. Finally, by applying consistent audio, visual, and pacing standards you preserve authenticity and increase conversion impact. https://www.fiverr.com/s/akGkdXG
👉 Want a testimonial integration that truly converts? Consider working with specialists who understand storytelling, pacing, and technical polish. Contact us











